Preparing a Two Material Object for 3D Printing
How it works
Some 3D printers have more than one extruder which allows them to use more than one filament during a print. It's possible to create the object for such a print in Wings 3D. It should be noted that printing with more than one filament requires a printer with more than one extruder.
What you will need to do this:
- Wings 3D with the AMF or 3MF plugin installed (the latest version can be found on the forum).
- Slic3r or similar slicing software.
You should have the model to be prepared open in Wings 3D.
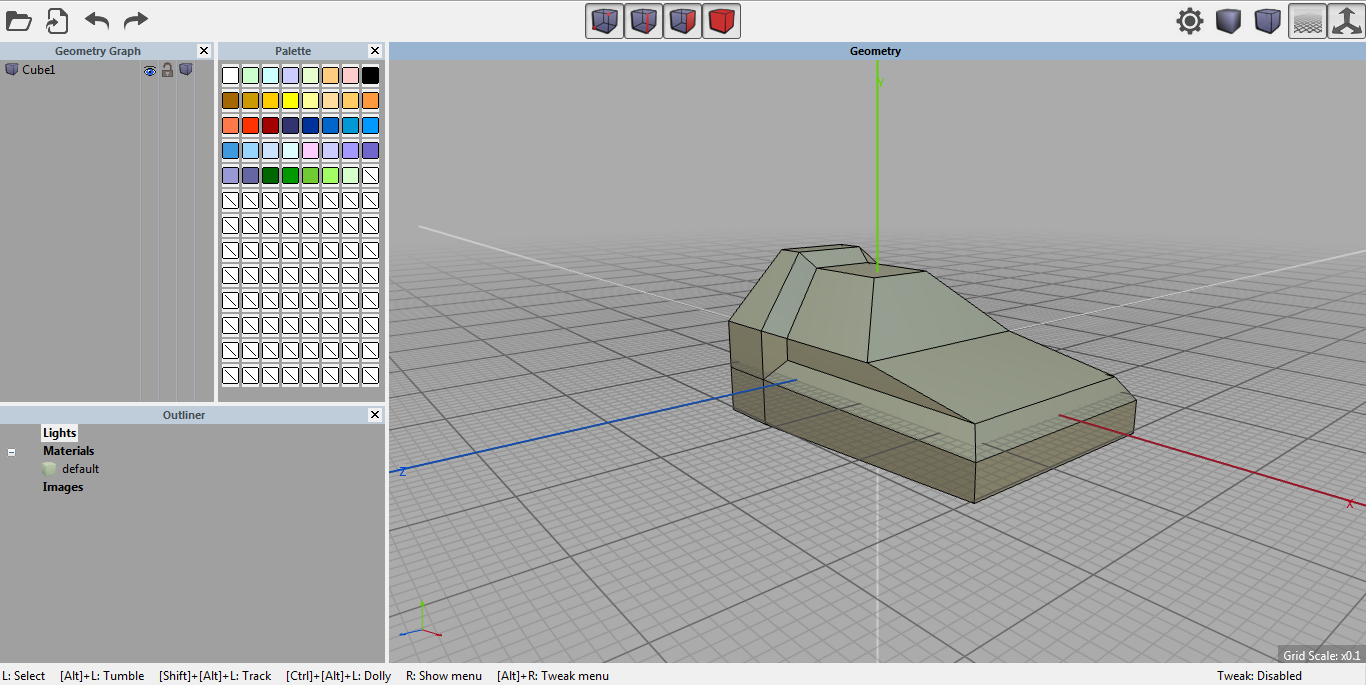
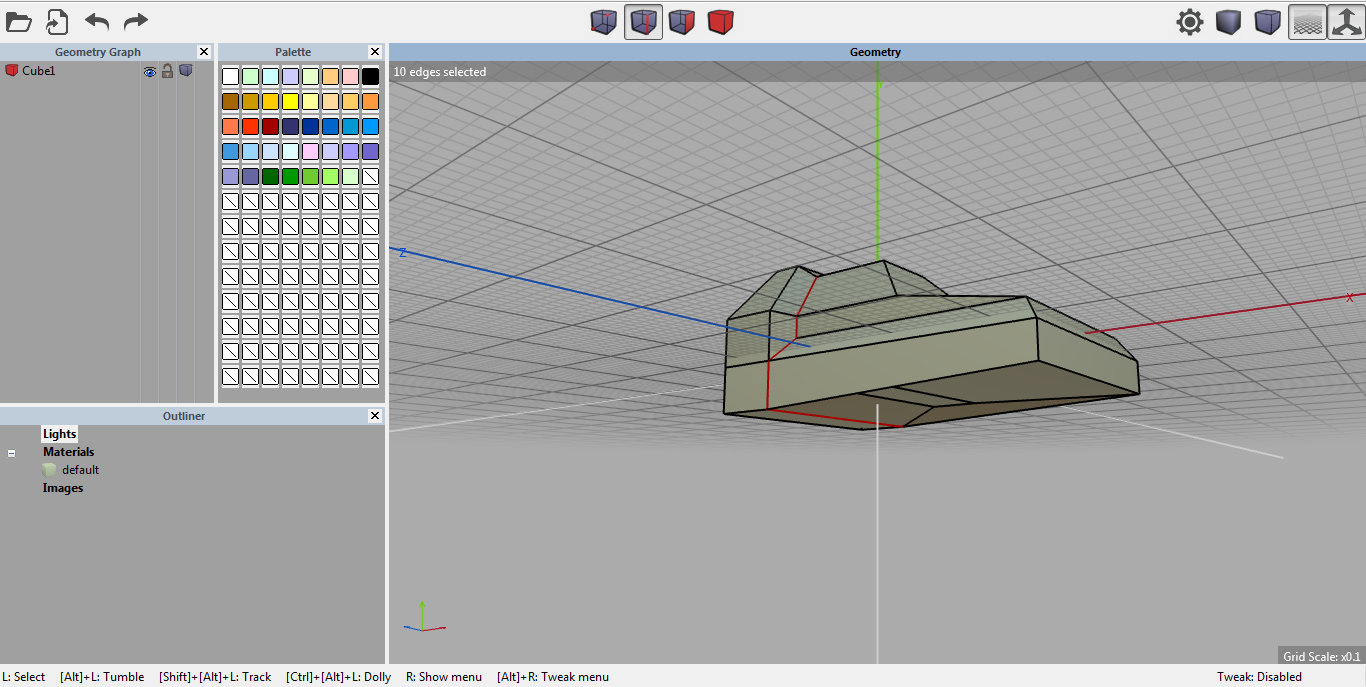
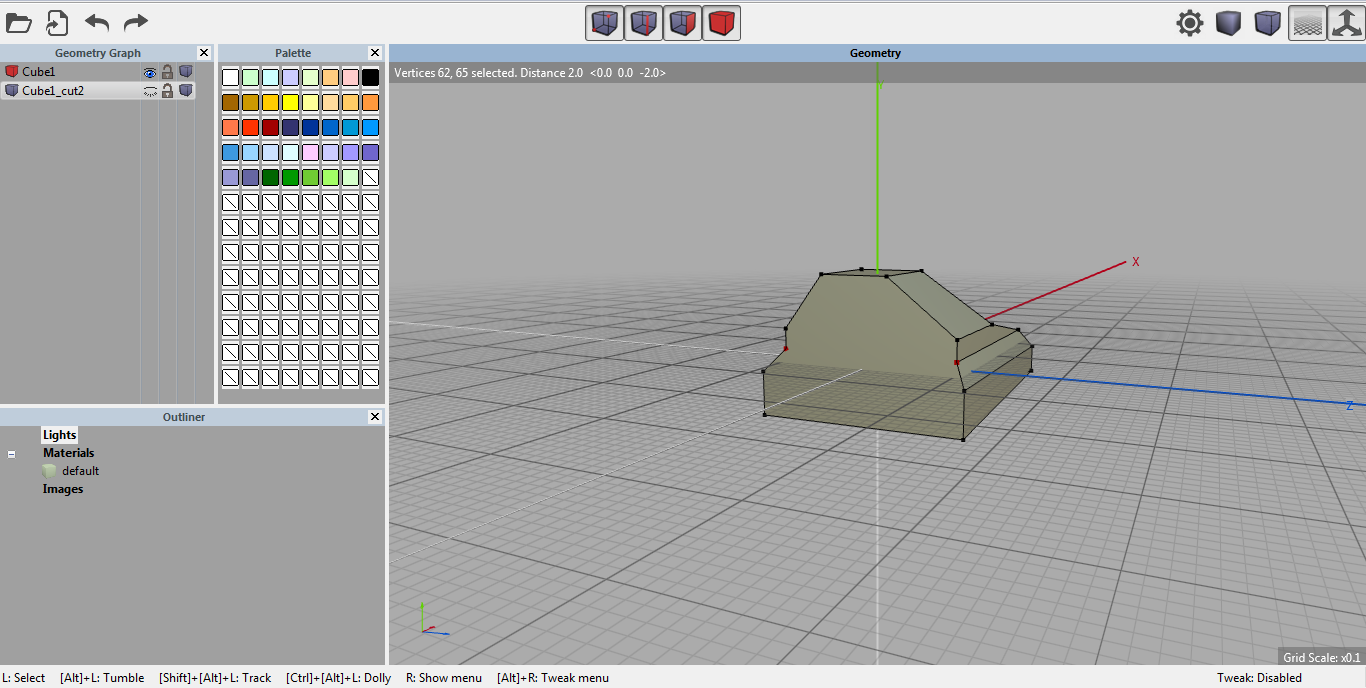
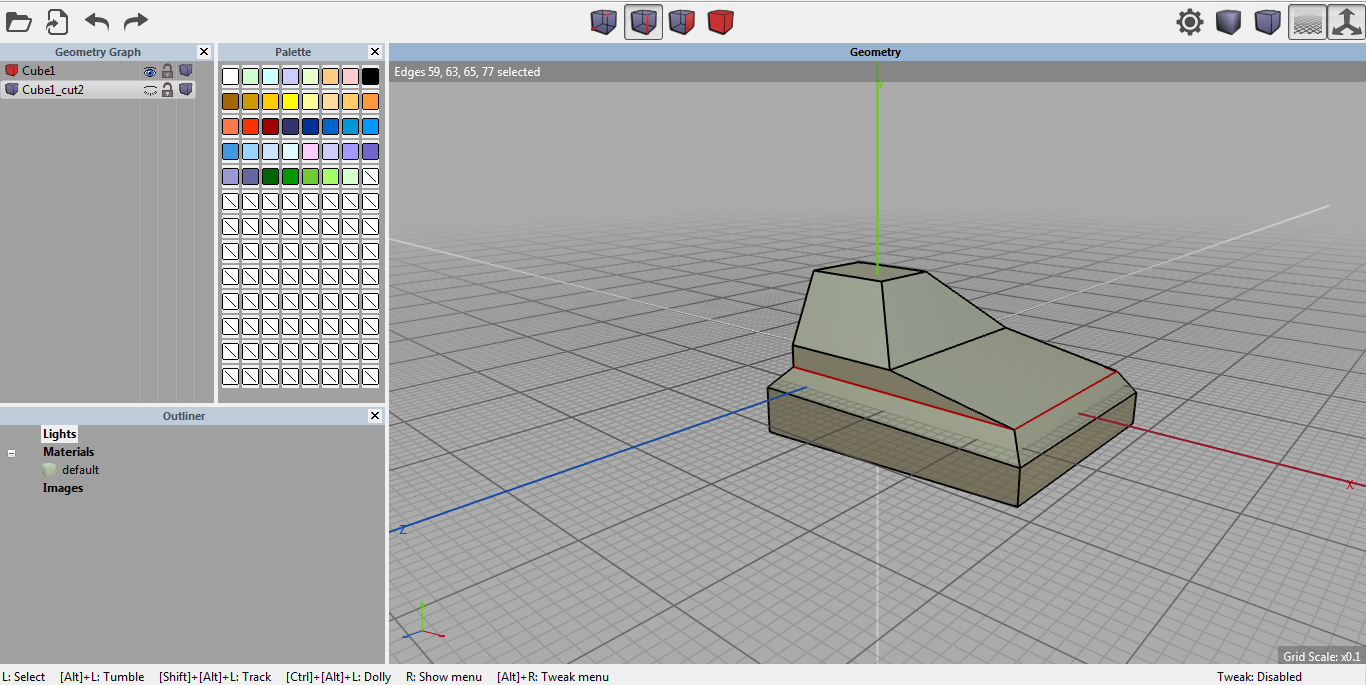
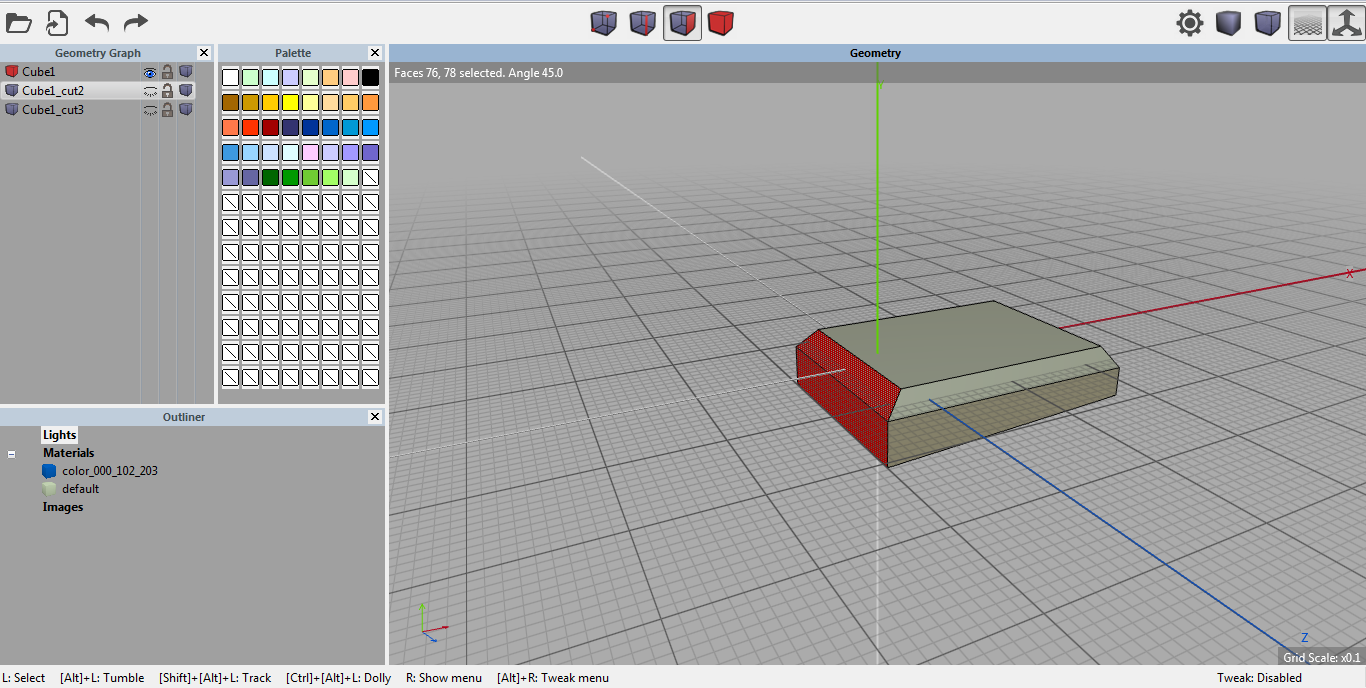
Loop Cuts
Before we can assign different materials to a 3D printed piece we will need to break the model apart. Enter edge mode and select edges along loops (use the L key) to break apart the model. For each cut use right click and Loop Cut. In this example we will do two loop cuts, and do a "bridge" to reassemble two of the pieces.

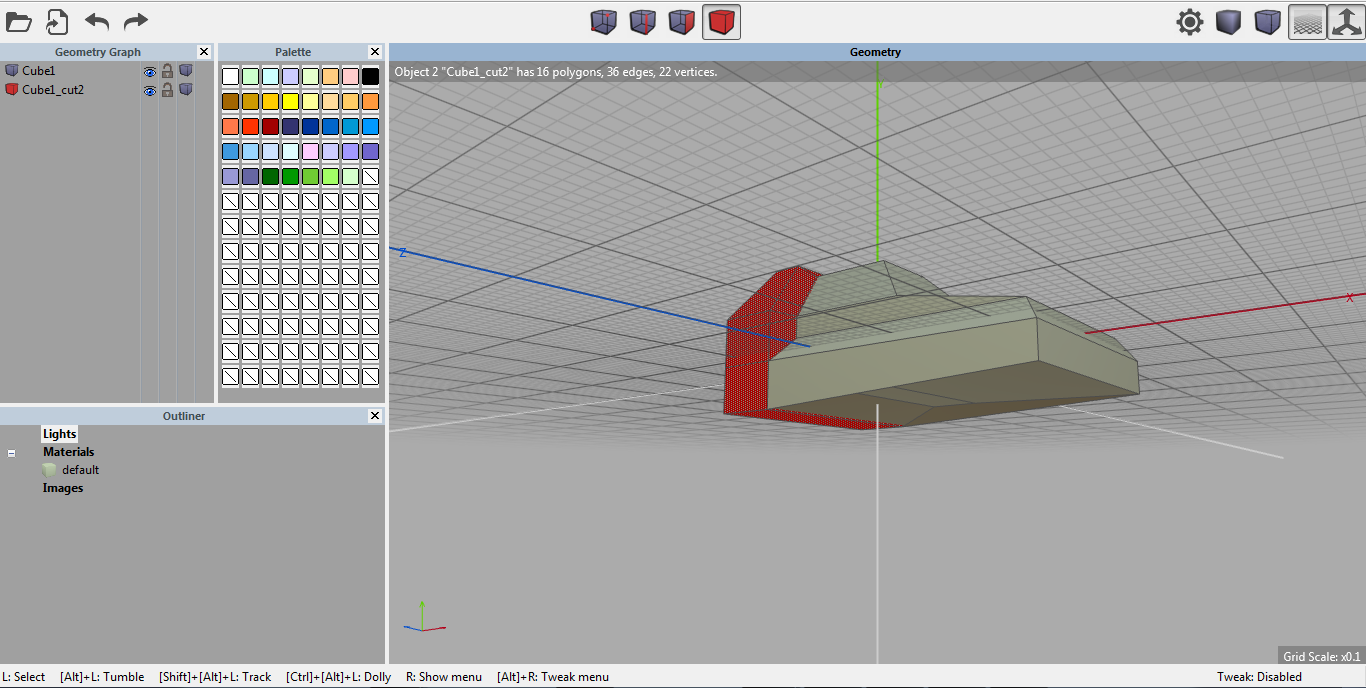
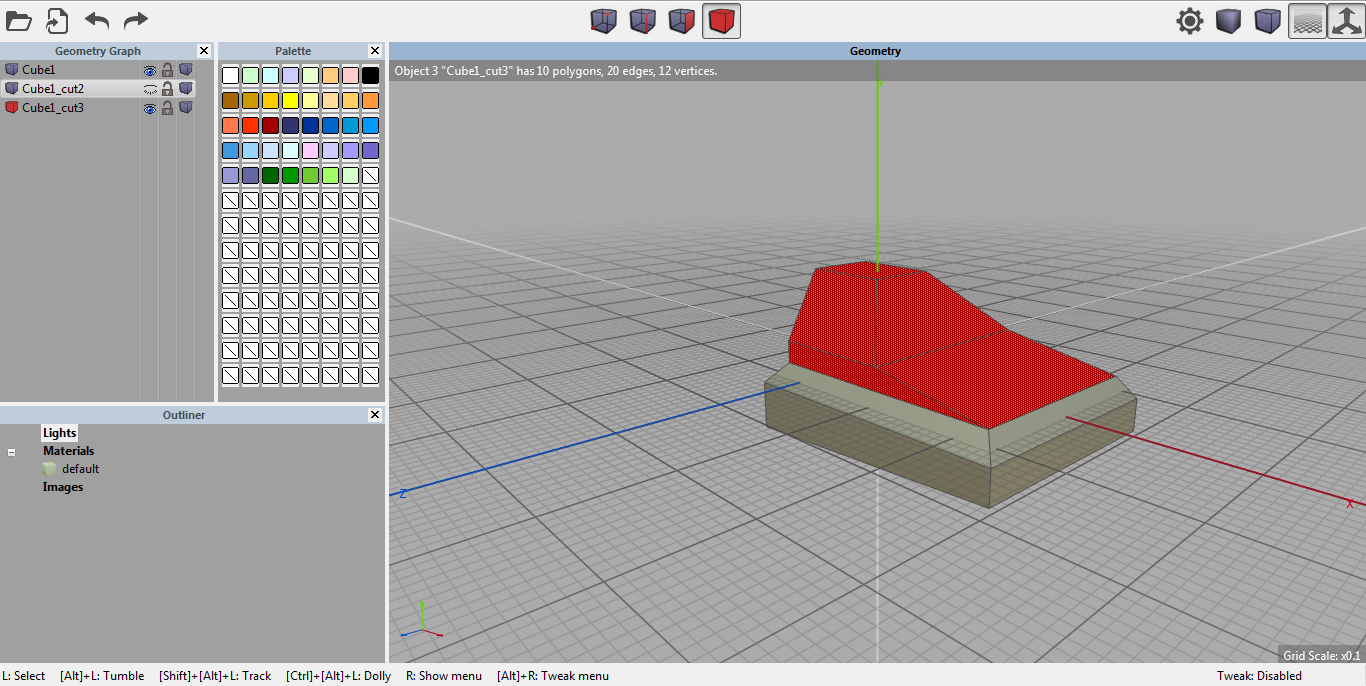
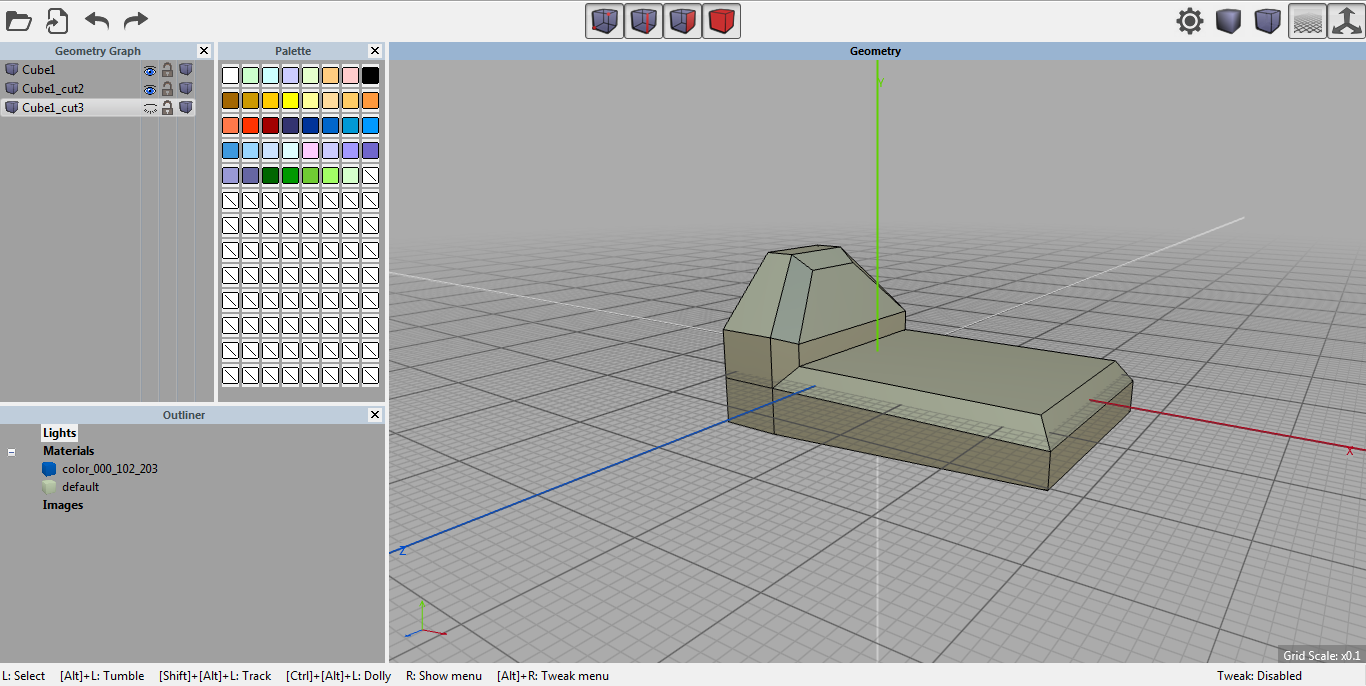
Fix faces of both objects
After Loop Cut the object will become two objects. For each object we will need to fix the shape so that the faces are "flat" again.
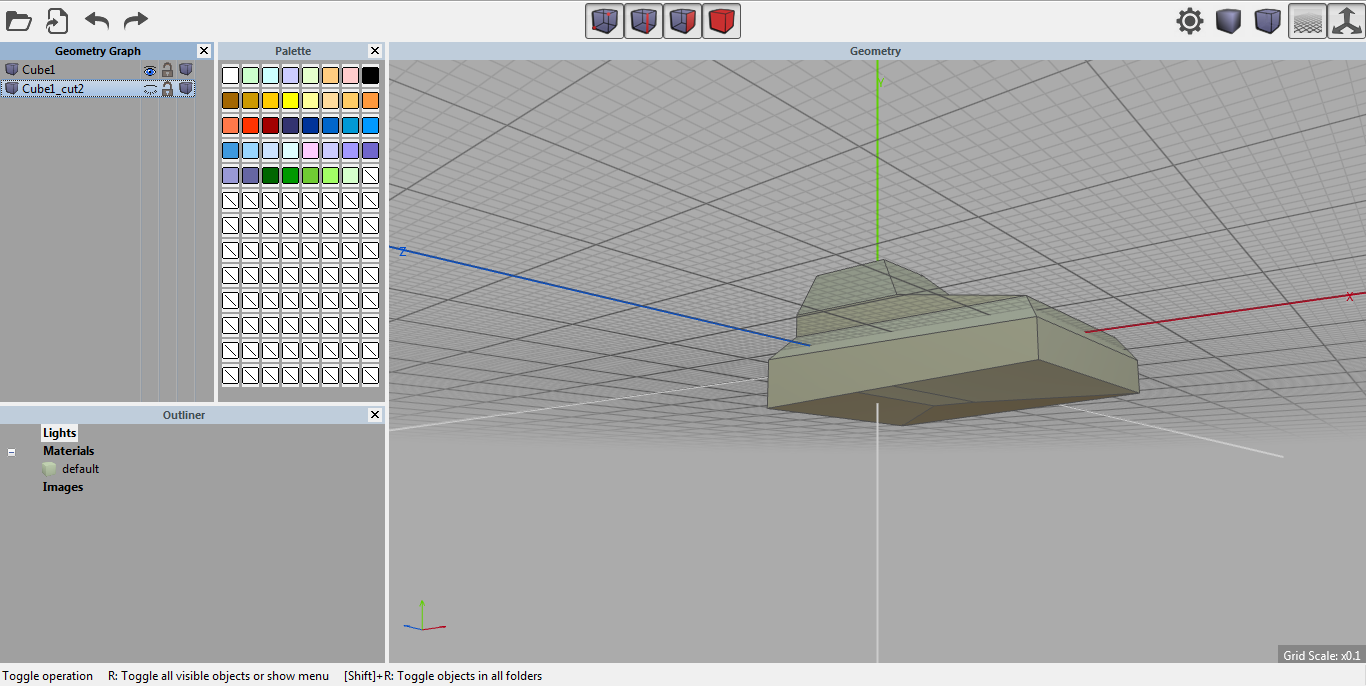
On each side, click on a vertex and use the C key to connect the vertex with a line, do for each set of vertices across.
After connecting all the vertices across with edges, it should look like this.
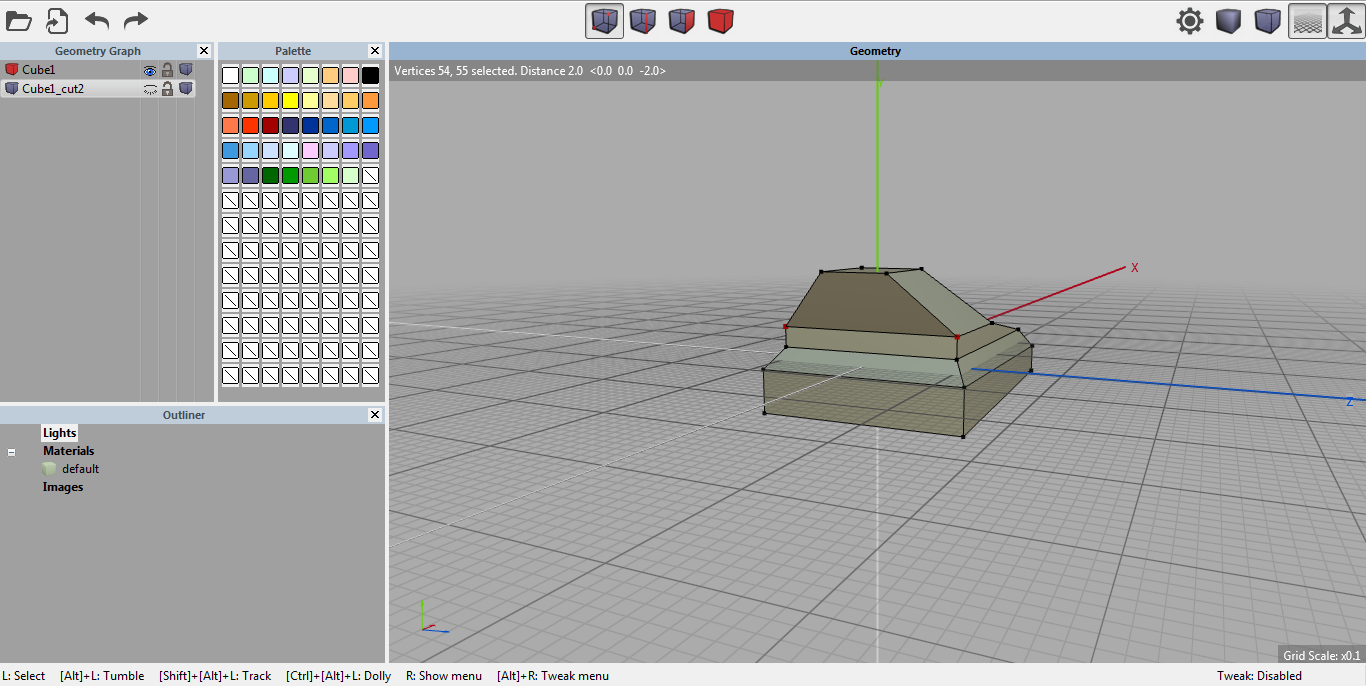
Also don't forget to fix the face of the other object.
More Loop Cuts (If Needed)
Do more loop cuts (and fixes) until all the objects are cleanly separated.
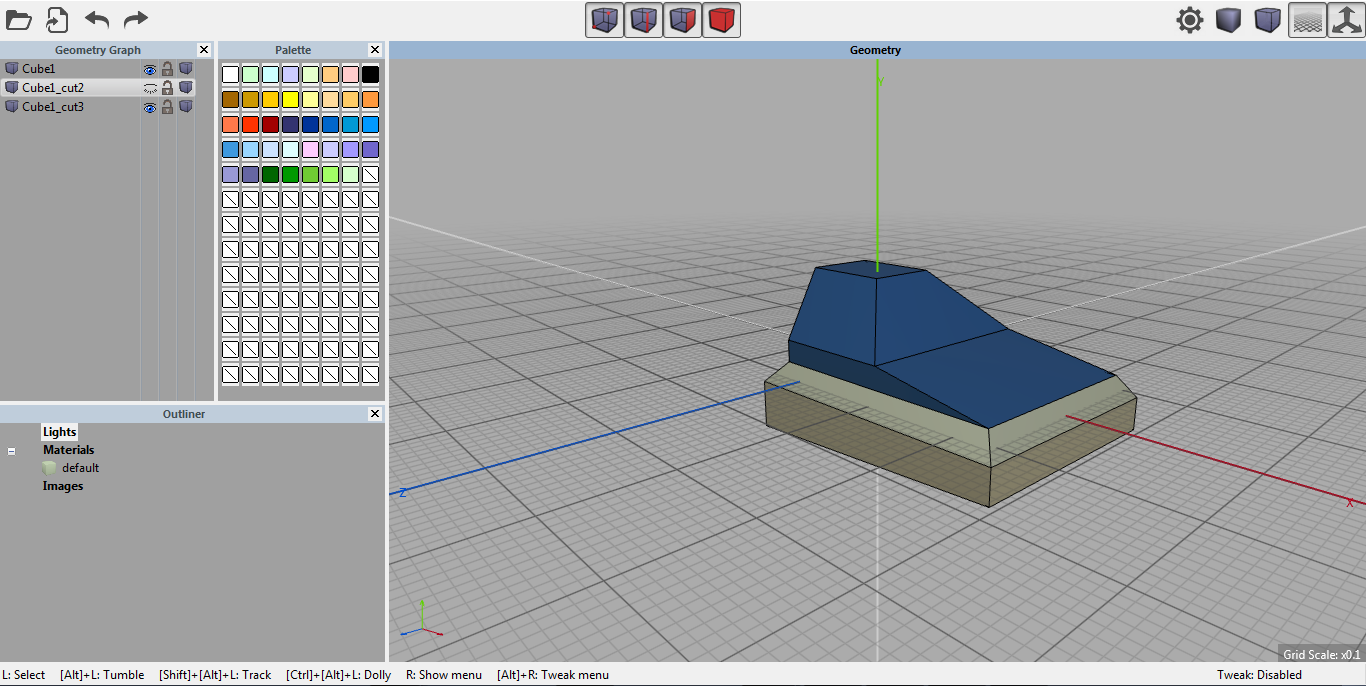
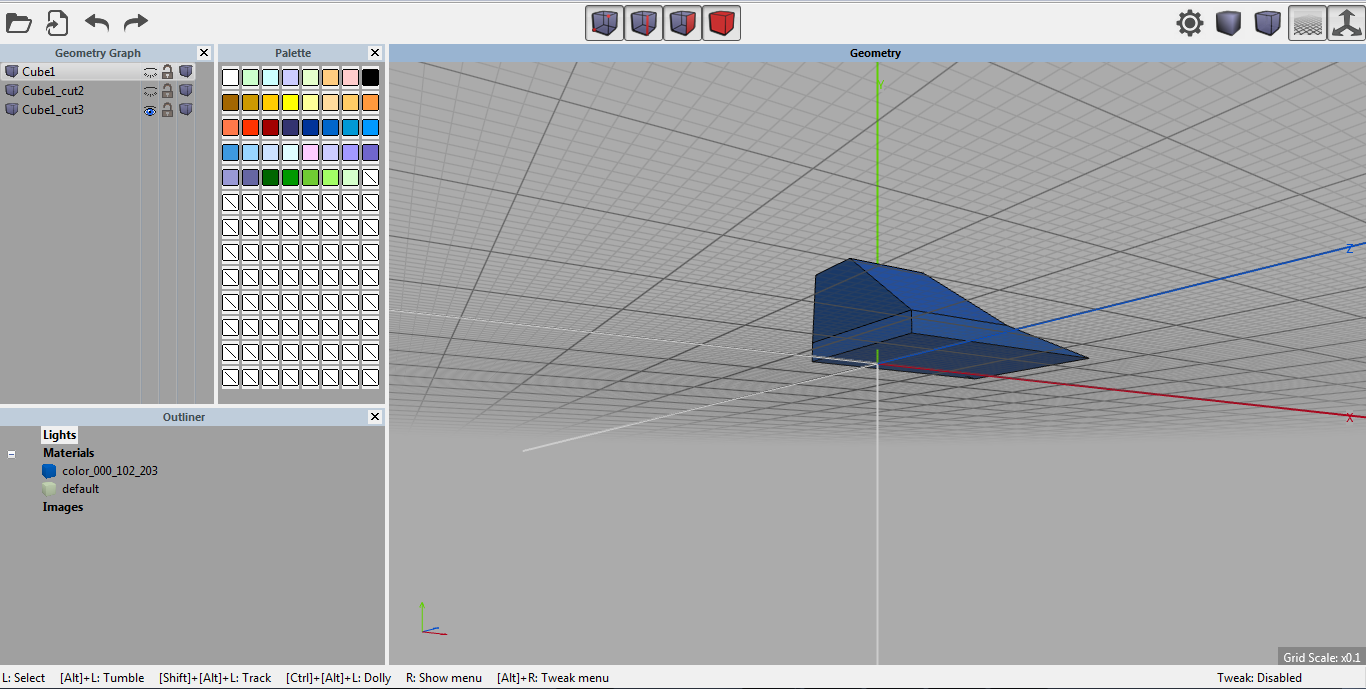
Create a material
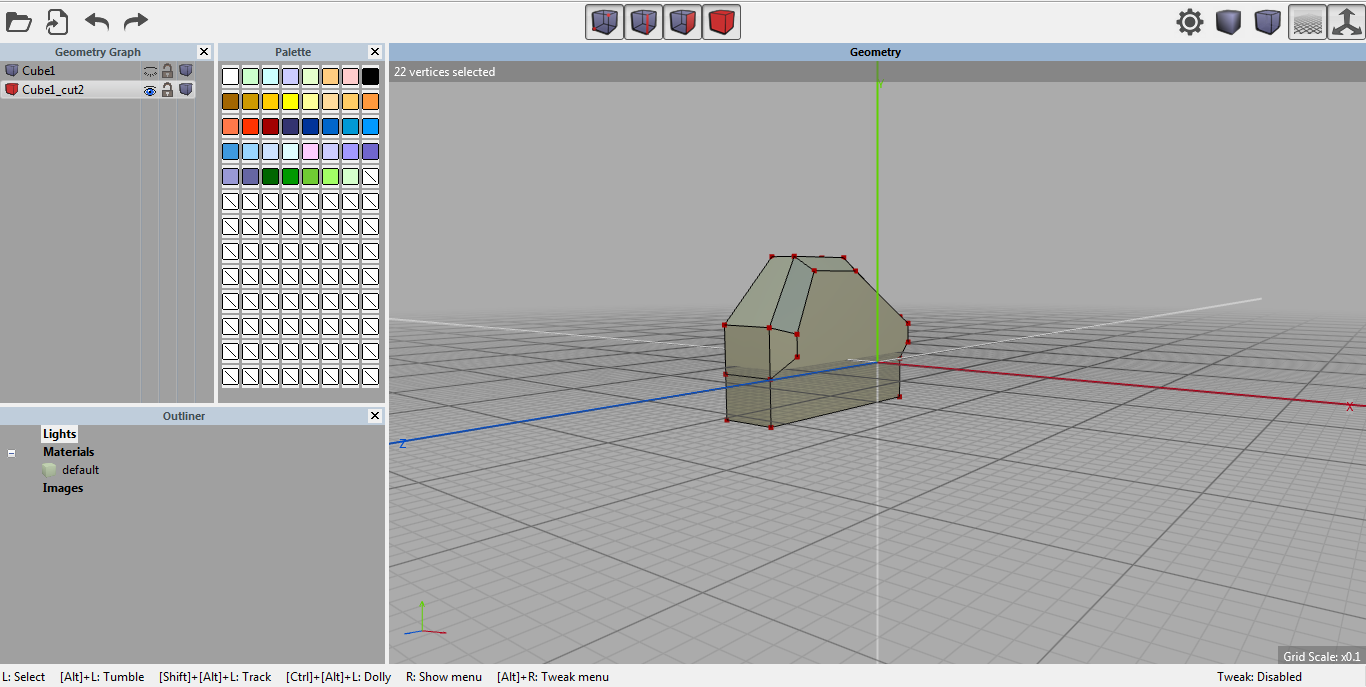
Quickly create a new material for the separate object by selecting the whole object and choose a color from the palette to assign to it.
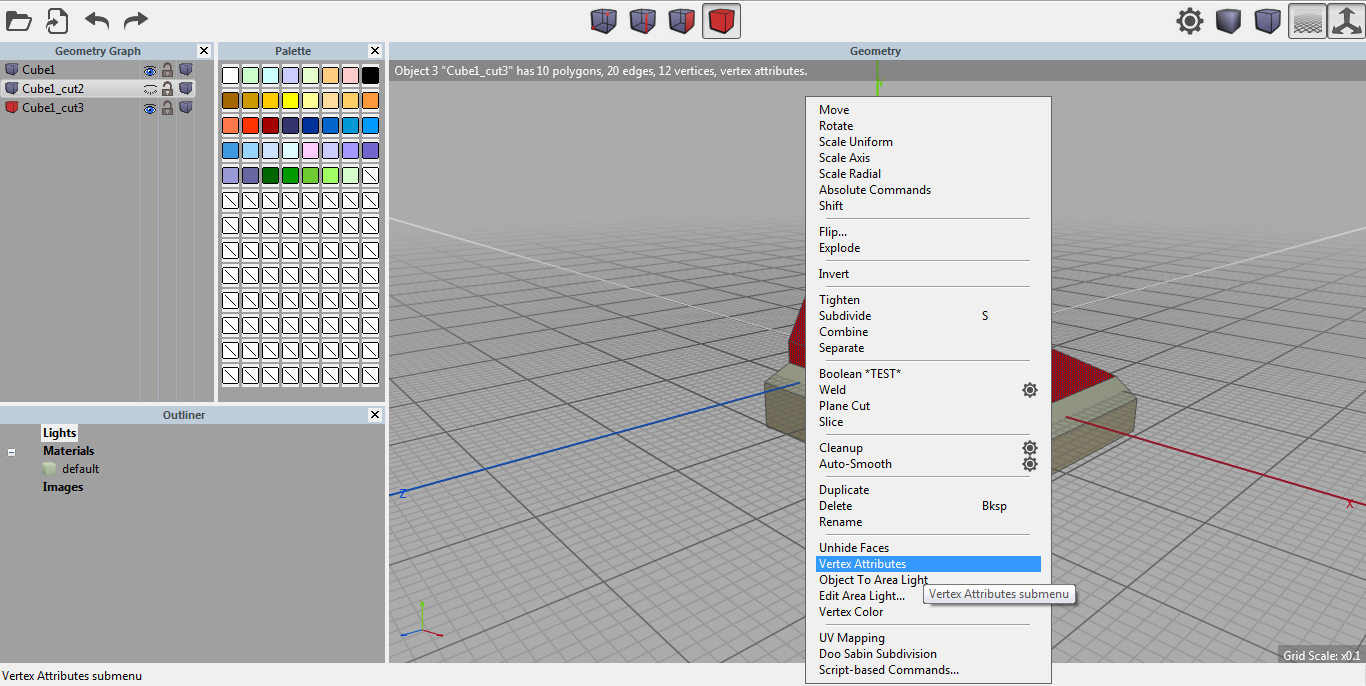
Then right click and choose Vertex Attributes. From the next menu choose Colors to Materials. A material will be created for the part you've selected.
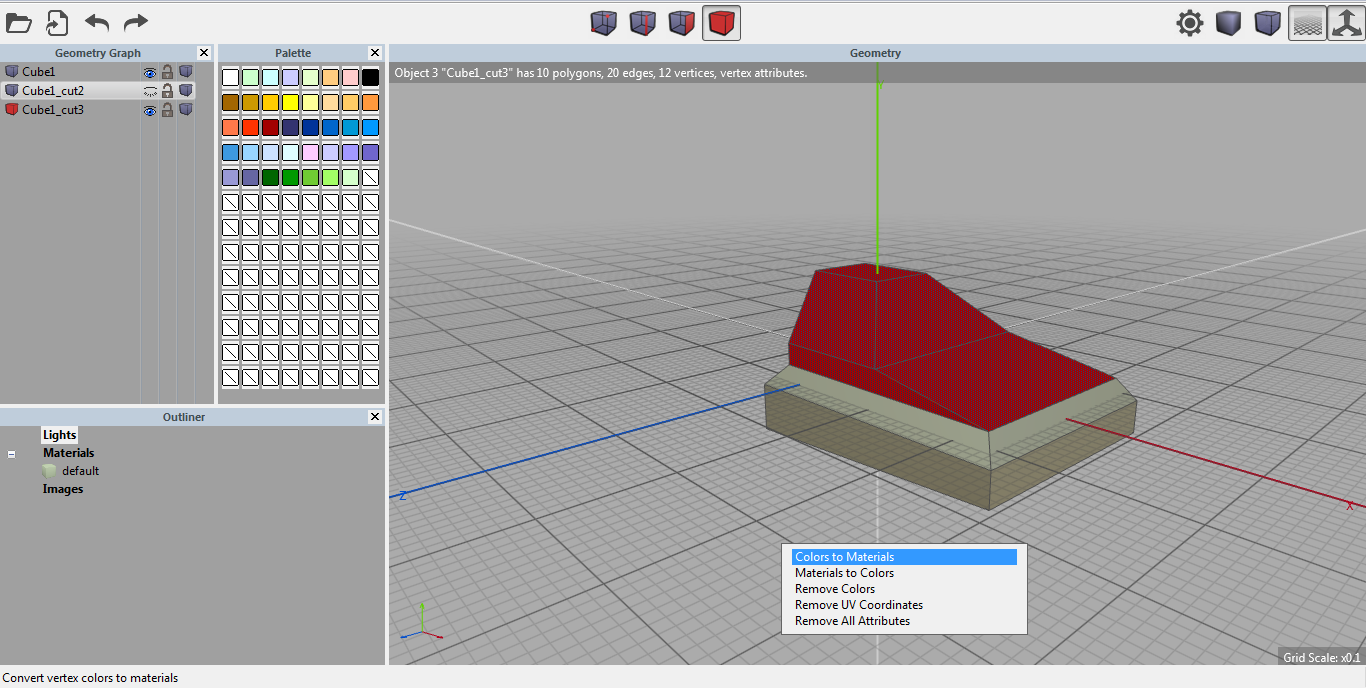
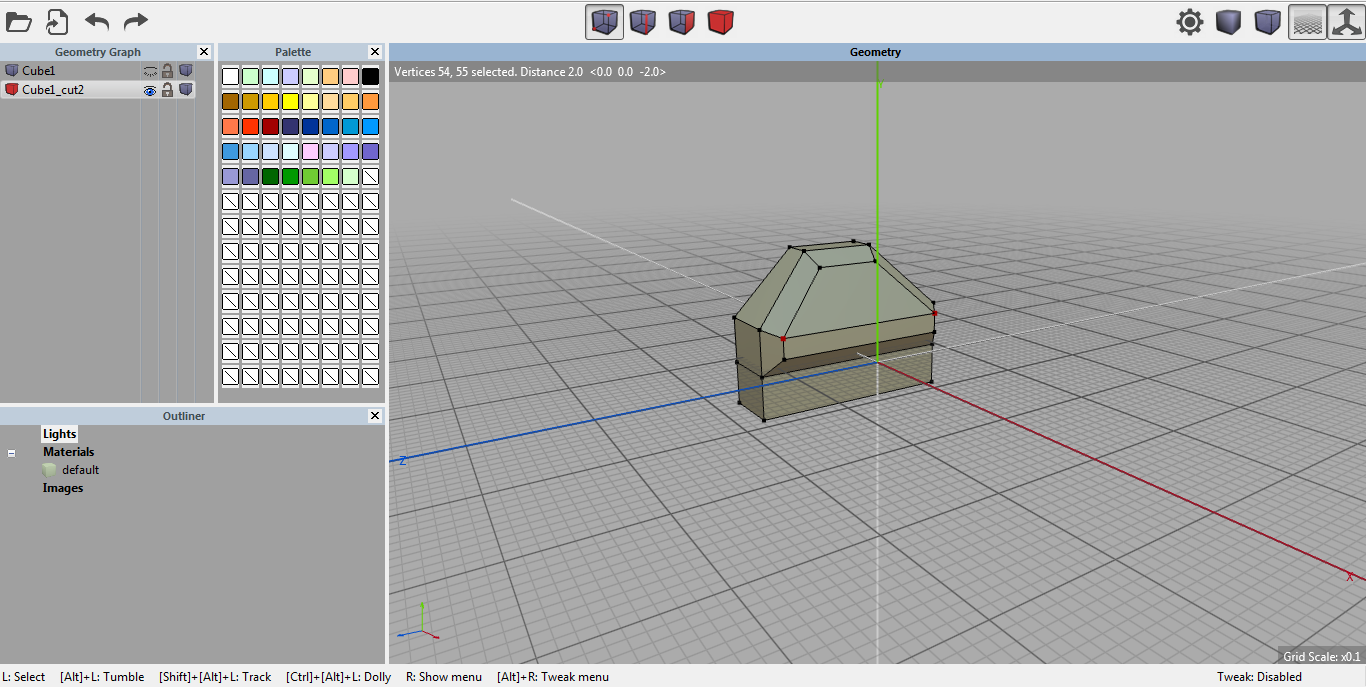
Inspect each of the parts to make sure the material is applied to the whole object. If an object has more than one material applied to it the AMF/3MF exporter will give an error.
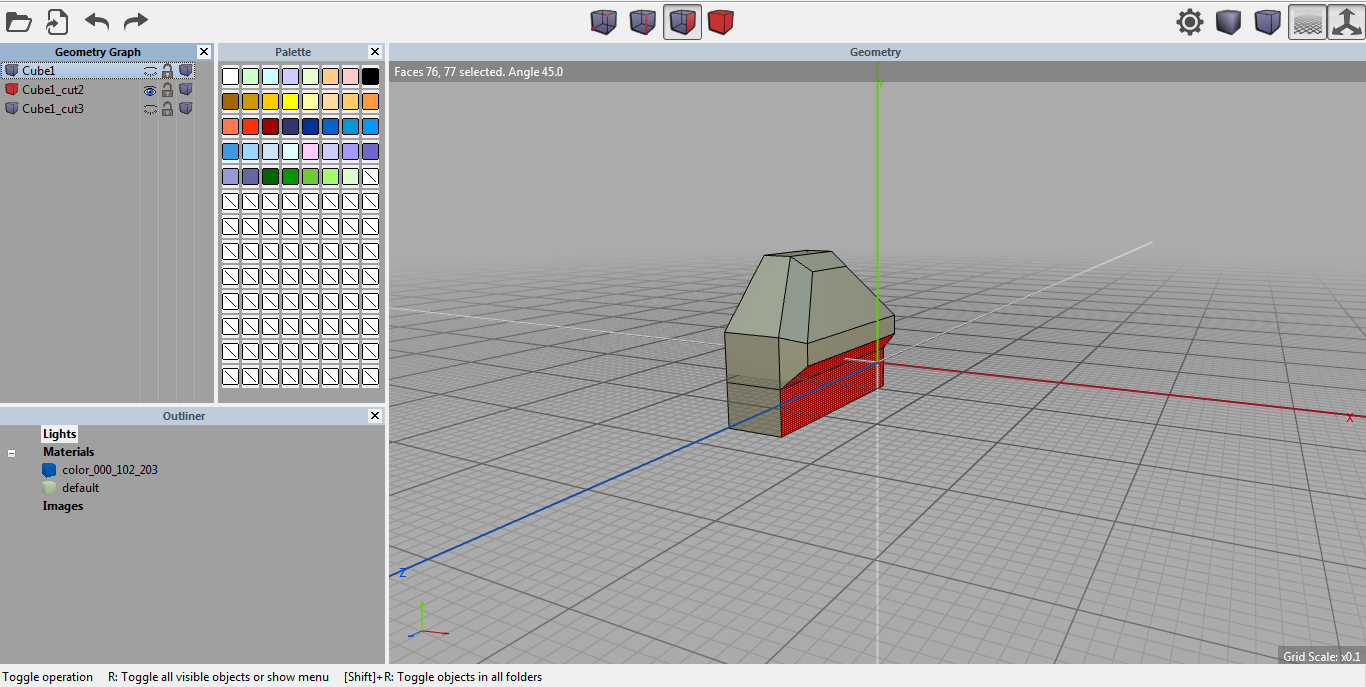
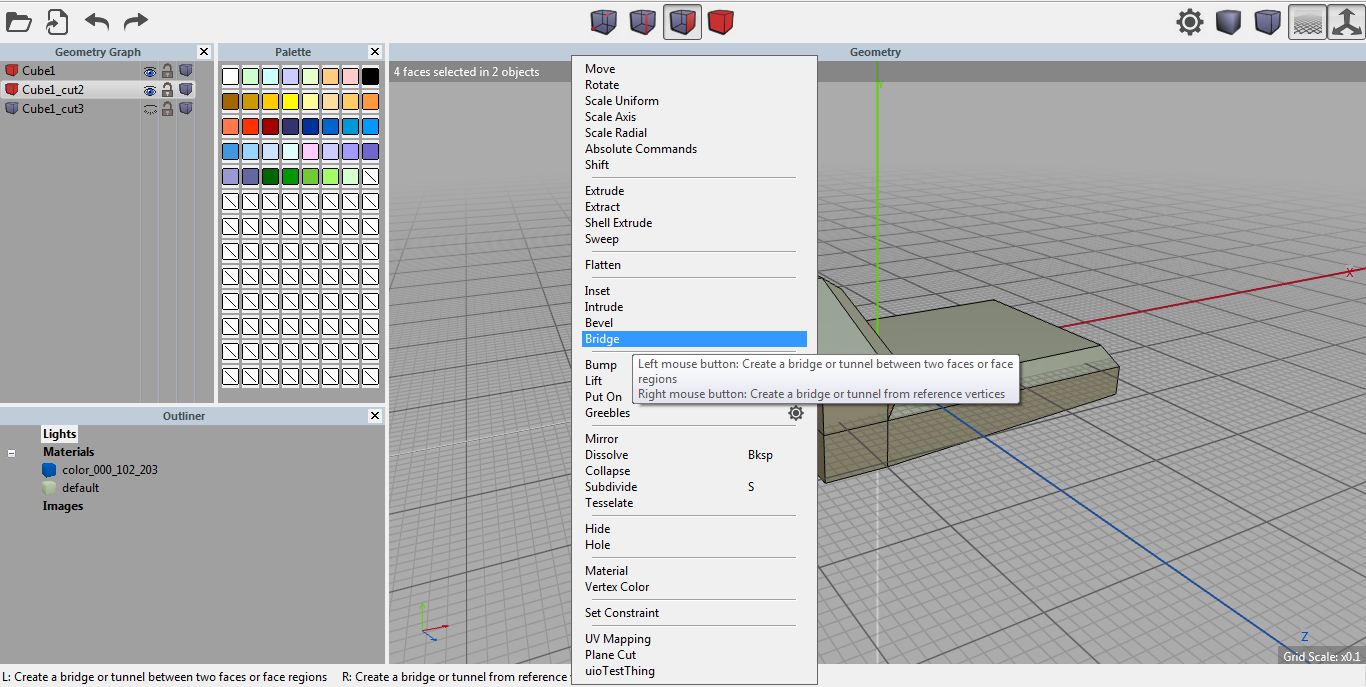
Bridge (If Needed)
Sometimes pieces might need to be reassembled. This can be done by selecting the faces on each side of both objects, you'll need to make each one object invisible temporarily to select them, then right click and from the menu select Bridge.
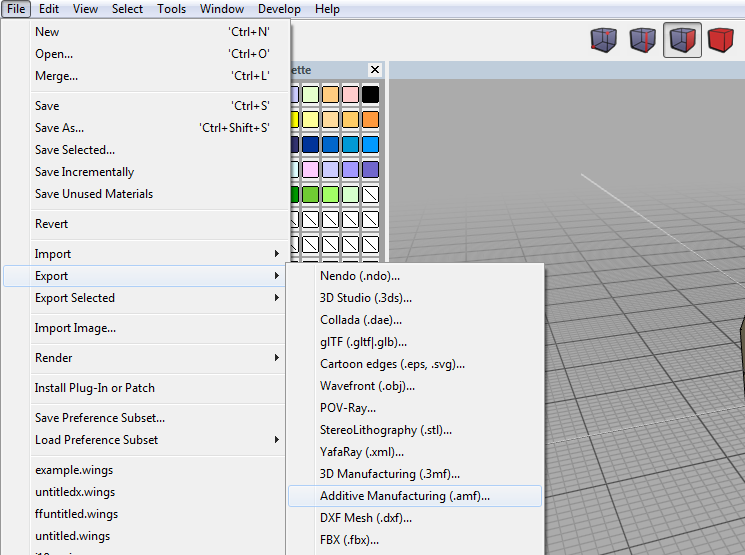
Export to the Slicer
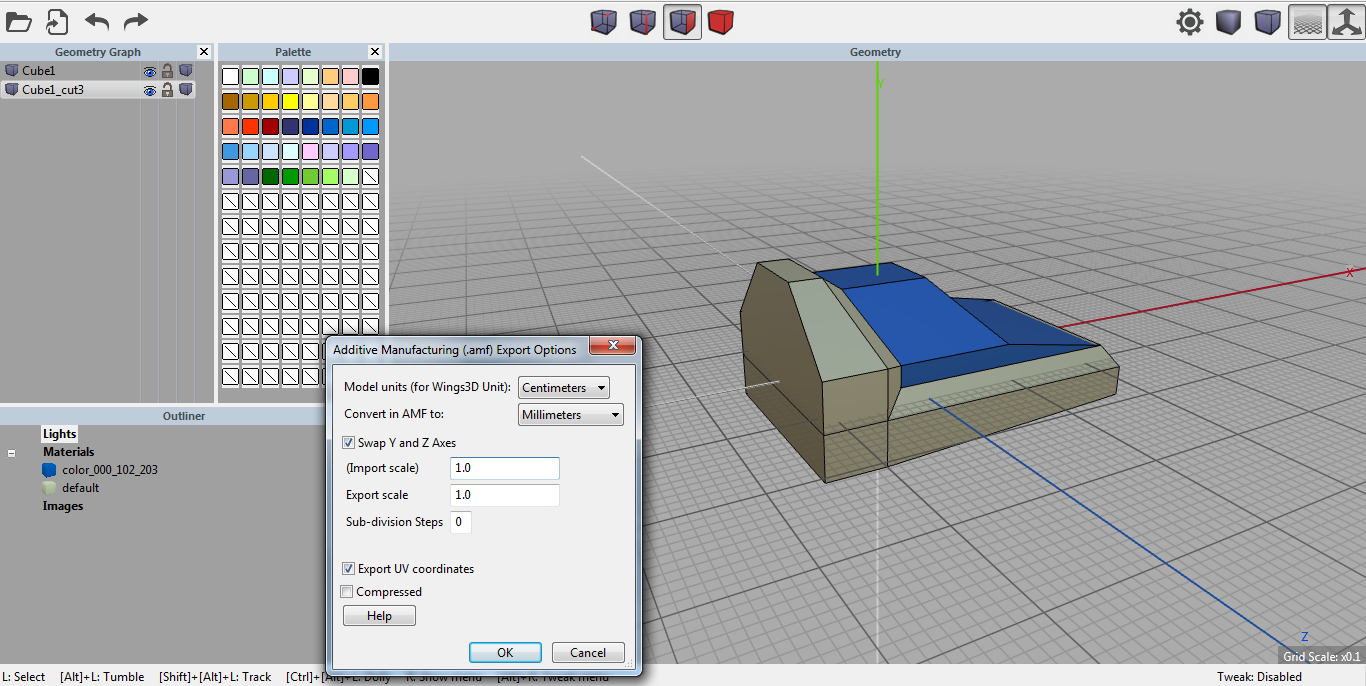
To export the model for the slicer to create the G-code, choose either AMF (additive manufacturing) or 3MF (3D manufacturing). Either should work just as well.
It is recommended to use millimeters for the "Convert in AMF to:" field.
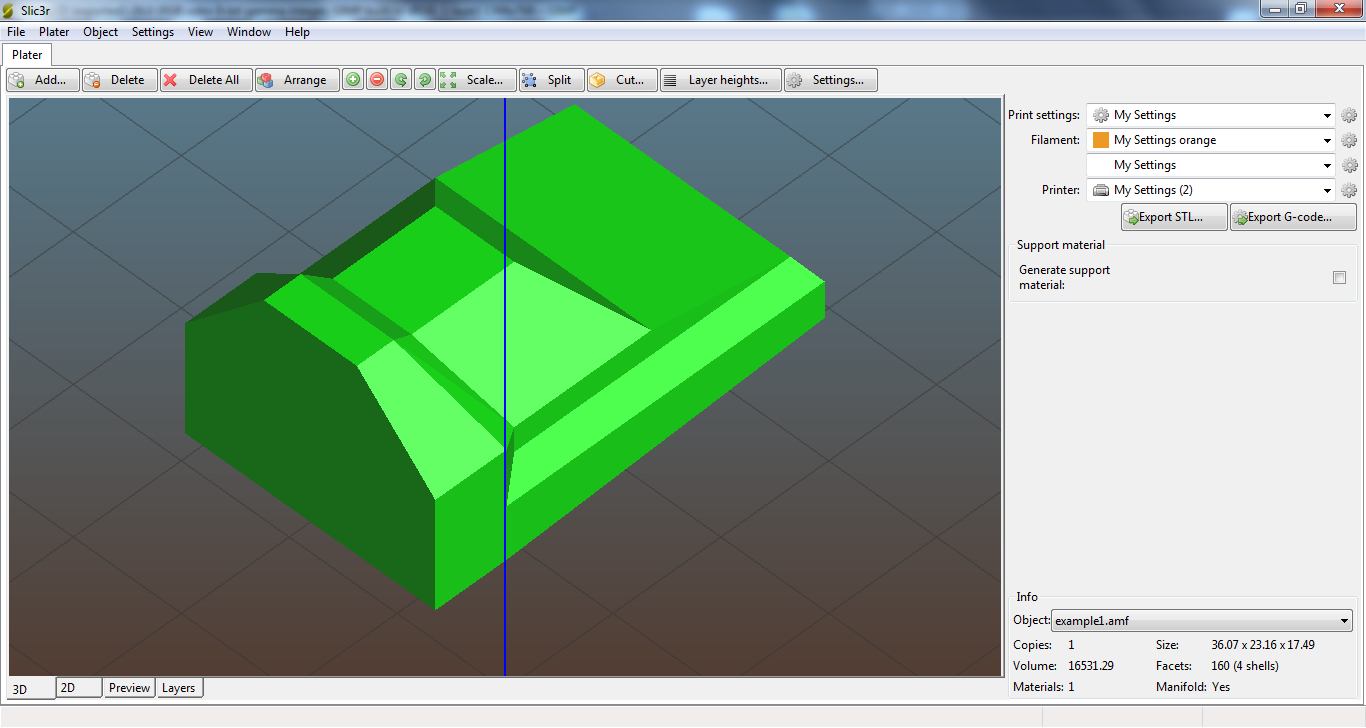
Import into Slic3r
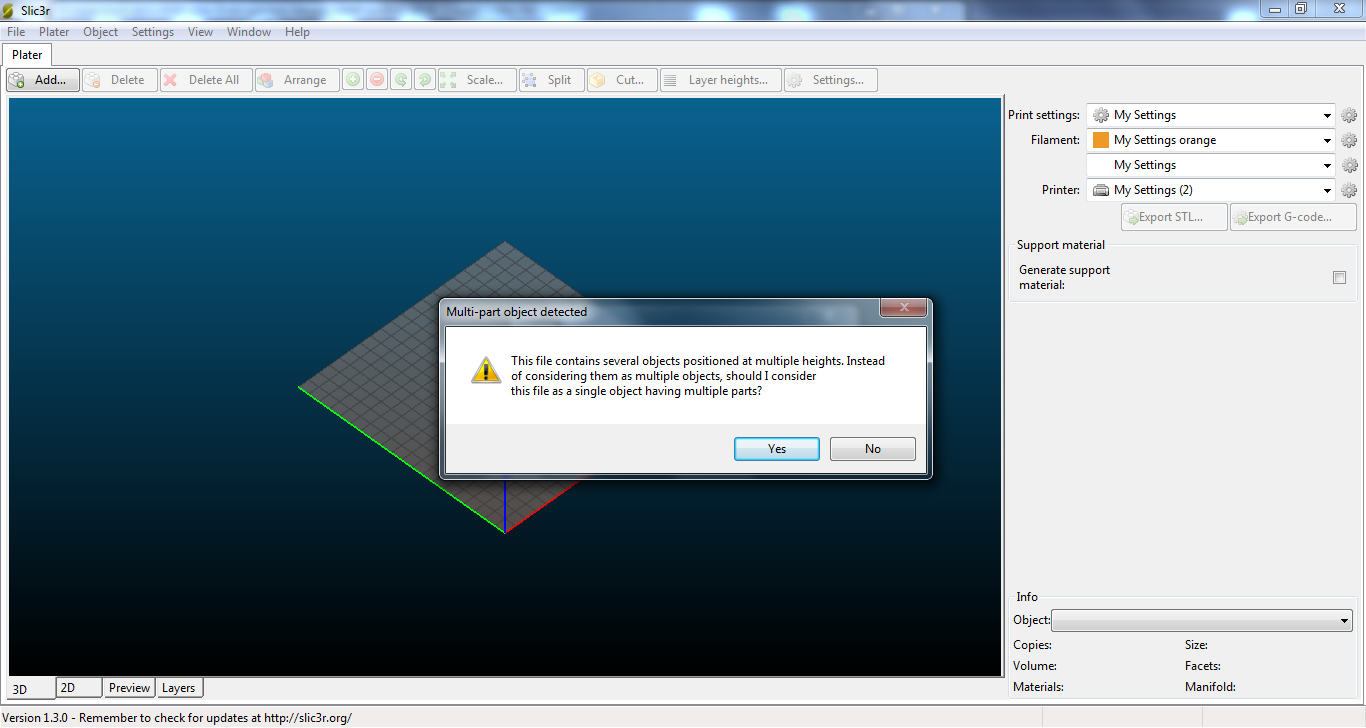
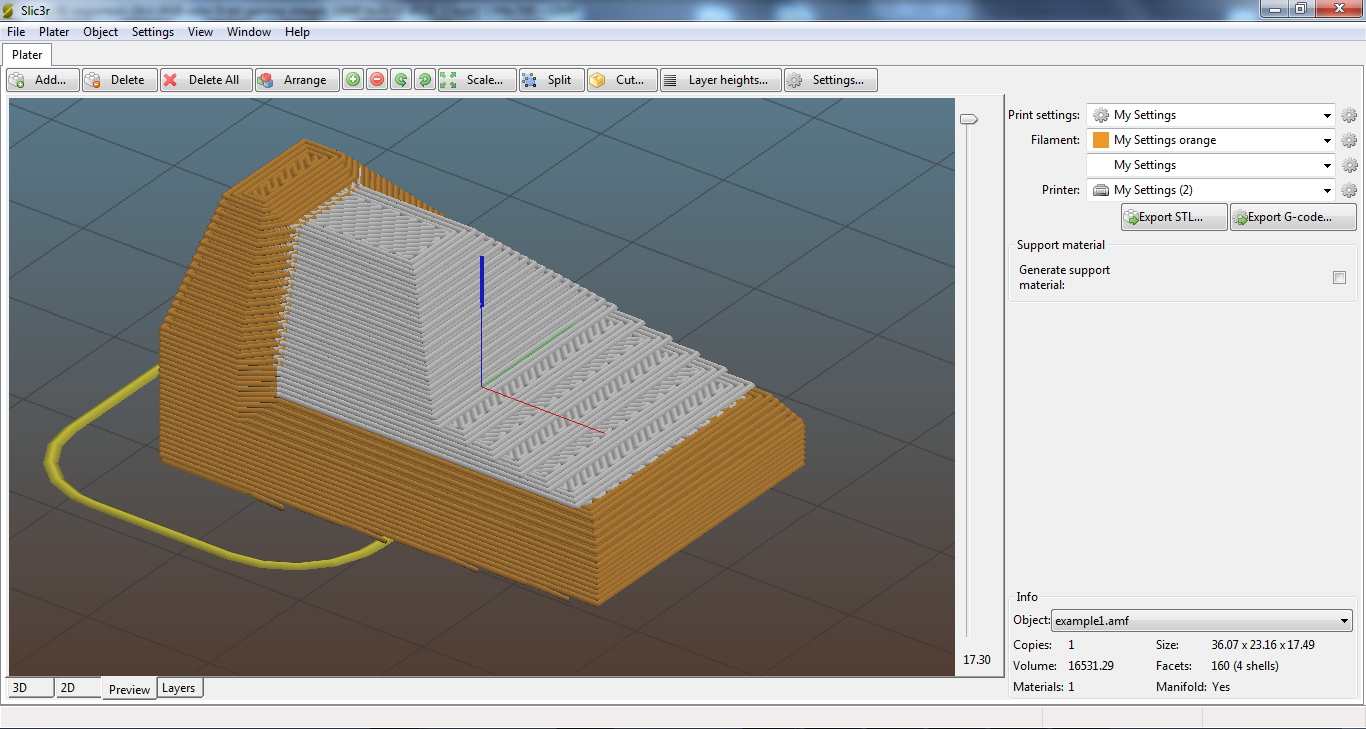
Open Slic3r and go to File and Open. Choose the AMF file you've exported. Slic3r will notice and ask if the different objects are part of the same object, choose Yes. This dialog box isn't necessary if a special naming convention of the AMF exporter is used.
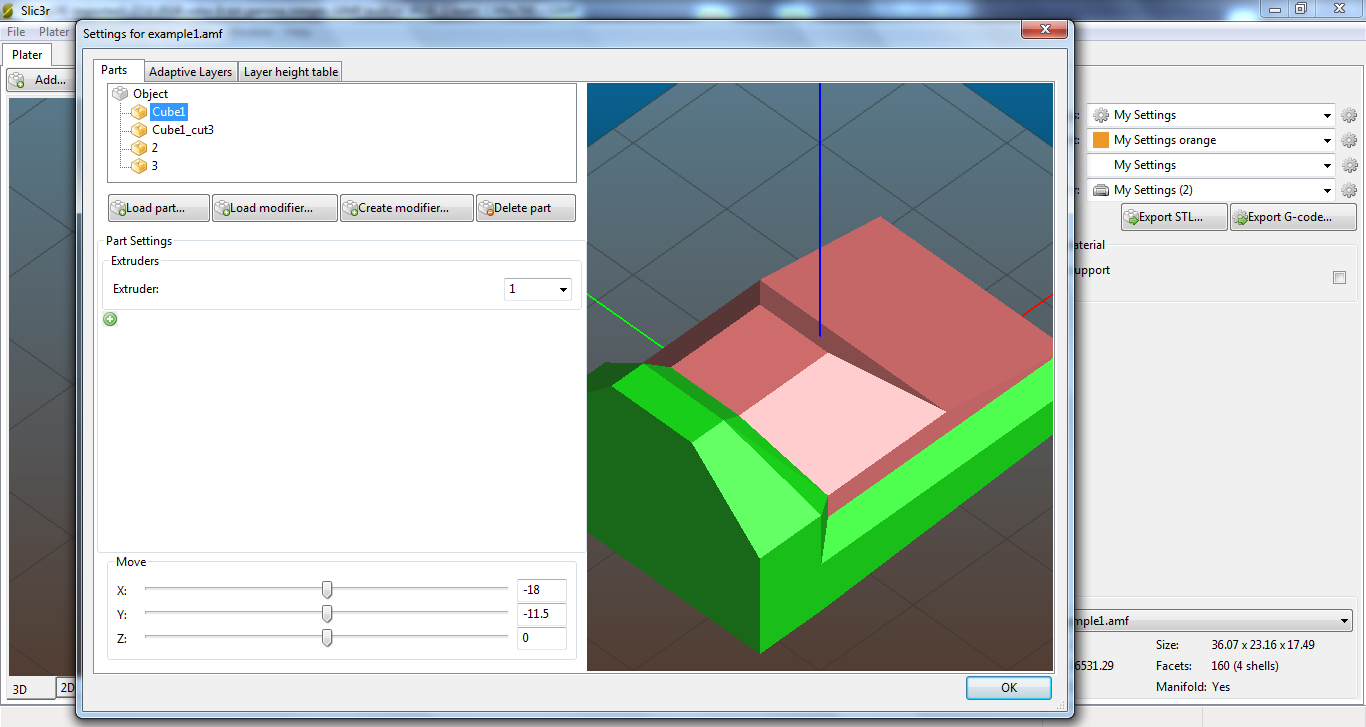
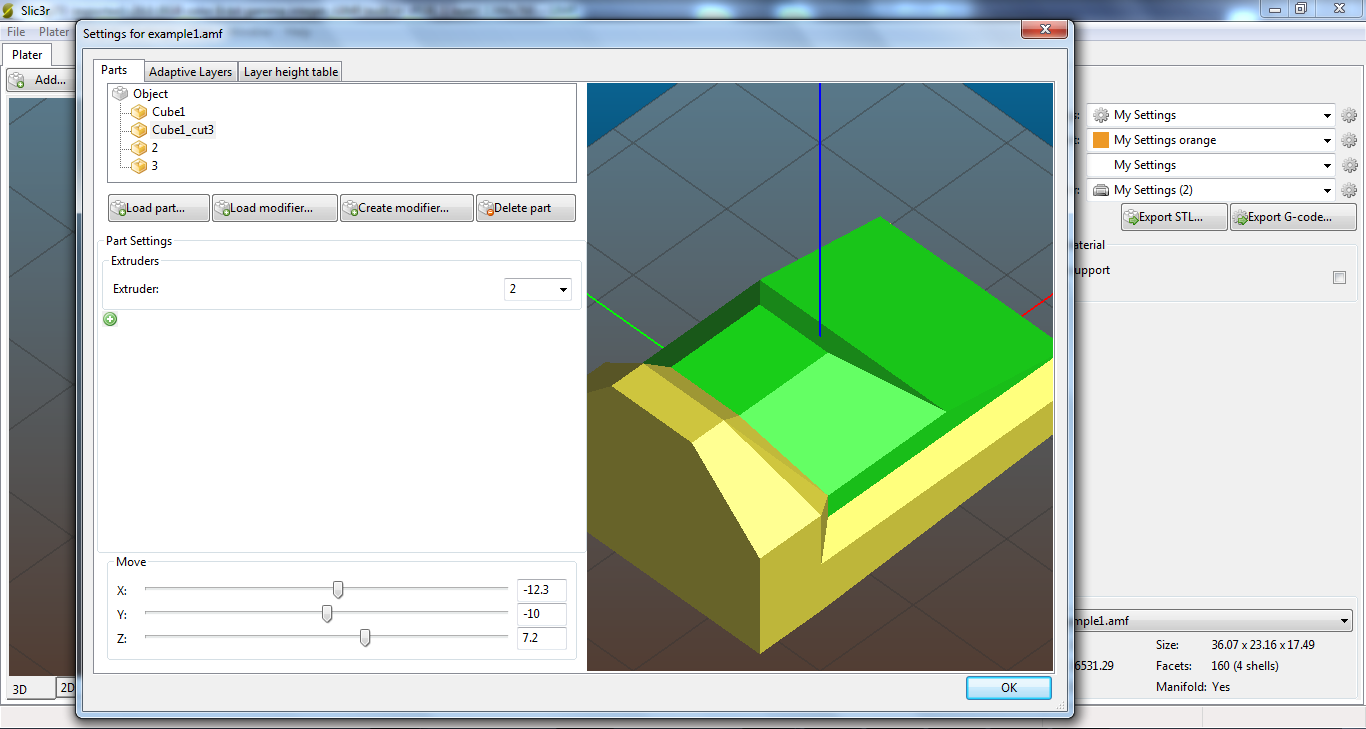
Go into Settings... to assign the different parts to different extruders. Make sure to change the print settings to 2 or more extruders/filament.
Each part should have a different extruder, this might need some adjustments as sometimes there are extra objects as in this case "2" and "3", which might want to be assigned extruders.
Slic3r now has the different parts assigned to different extruders and the Preview tab should show different filament for each part. You can use the vertical slider to inspect how the layers of filament will be deposited by the extruders.
It is done!
Generate the G-code and you are ready to print a two material object.